Transport
The S1 waterbike is made up of lightweight units which are easy to transport by car.
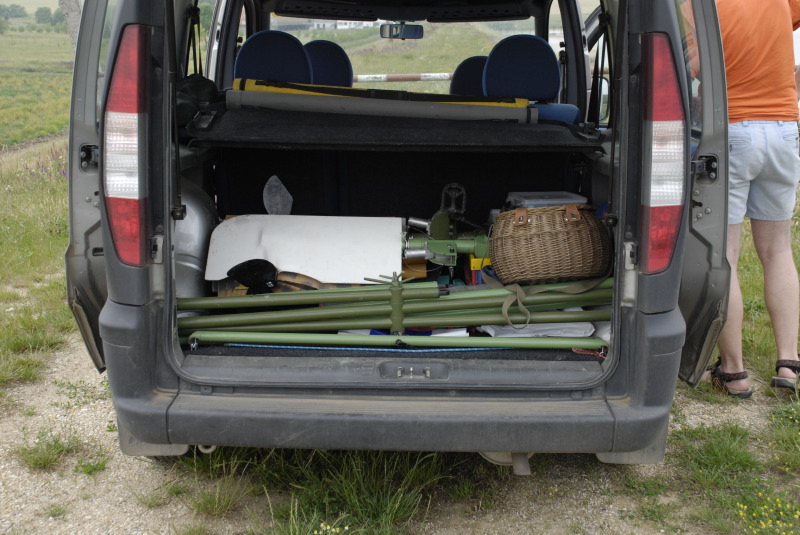
Four compact folding units: the body frame structure, the protective net, the chair and the pedal drive system, have been designed to fit easily into a car boot.
Two water bikes can easily take in a average car.
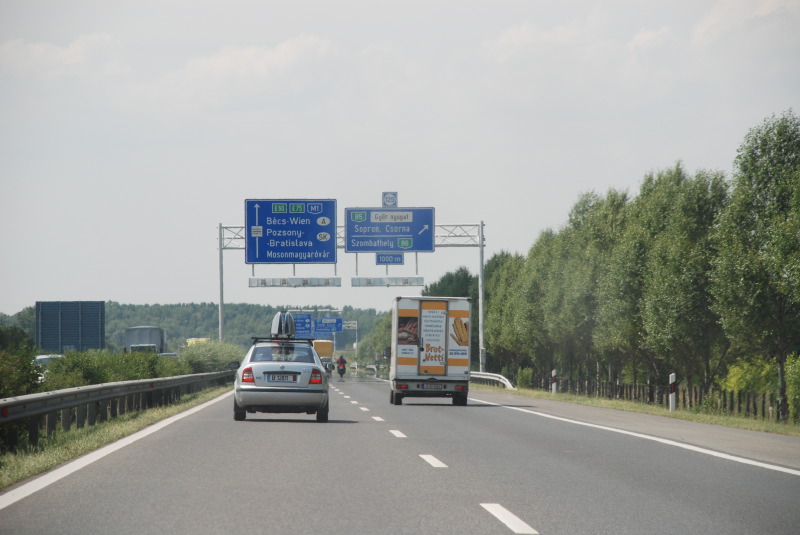
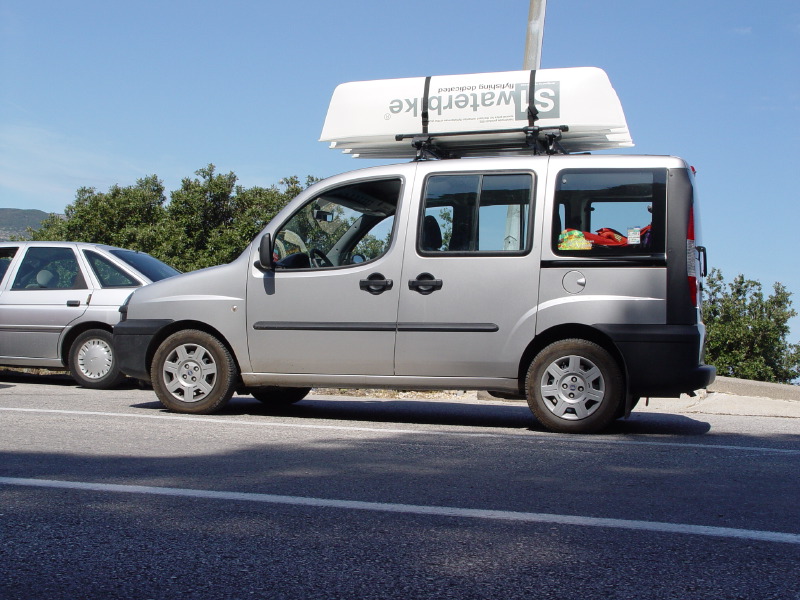
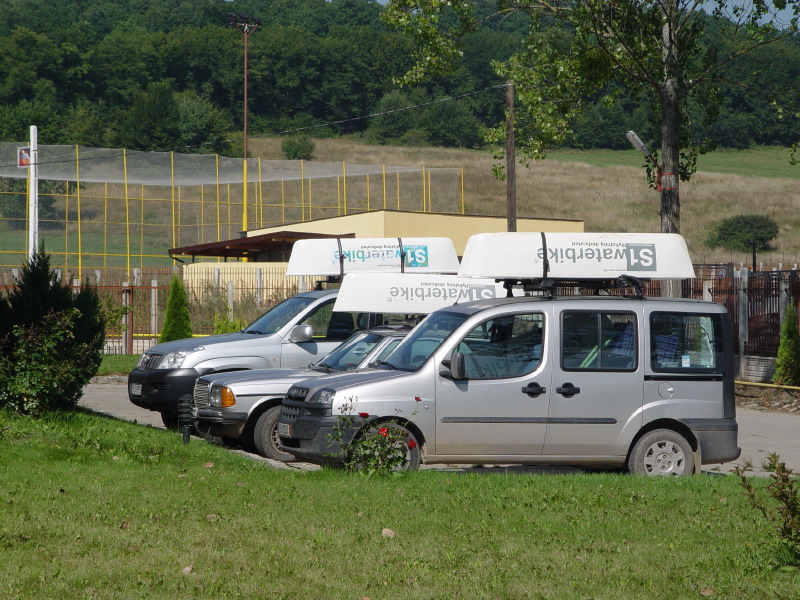
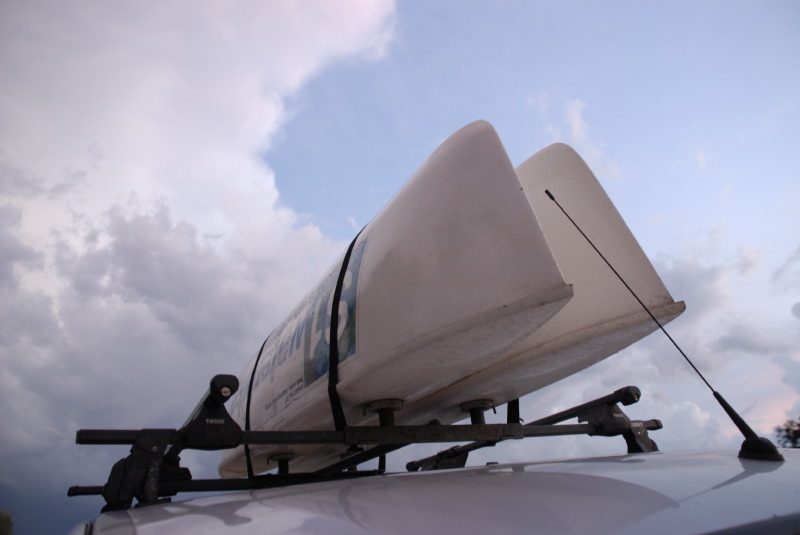
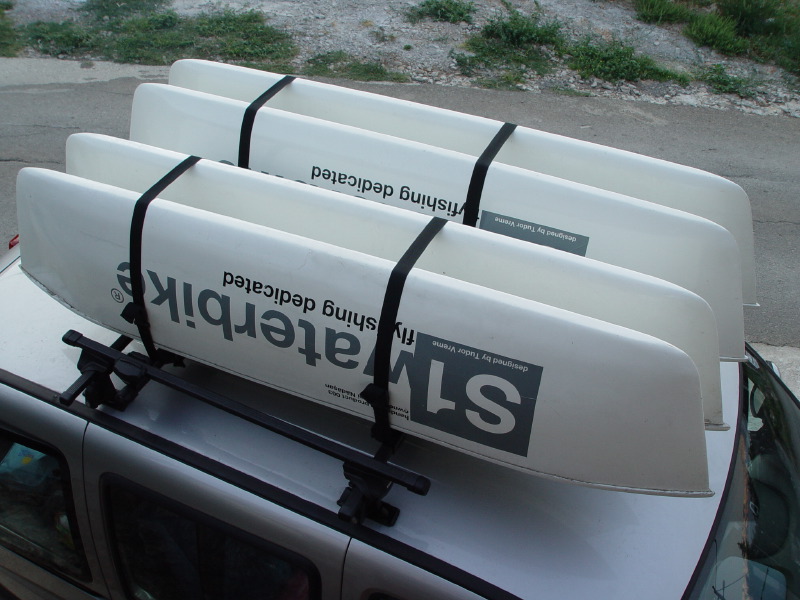
The two floats can be fixed to a roof rack with the special float support supplied. One car can carry two sets of floats. (We recommend Thule roof racks.)
S1waterbike is easily transported in a car
The easiest way to transport the waterbike in the car is to put in the trunk, first the folded seat into which we insert the protective net folded, then a protective material can be placed over the seat (if the components are not in covers), and place the pedals in such a way that the propeller is positioned towards the back seat, takes up less space and is protected.
Careful! don’t let the pedal board jump in the car from bumps in the road, tie it as firmly as possible or arrange the luggage in such a way that it will be fixed. There is a danger that due to strong vibrations and shocks, the propeller and the threaded parts of the pedals will loosen in their slots. We recommend a game check before entering the water. If these games appear, you can tighten the propeller in the axle with the help of the butterfly nut, or the handlebar on the upper part of the pedal board with the adjusting screw with the lock nut, or the pedal arms with the fixing screws in the head of the axle. A 13 ring wrench and a screwdriver from the car kit are the only tools needed.
If the frame cannot fit in the trunk (depending on the type and width of the car), it can be placed near a rear door with one end fixed to the floor of the car behind the front seat and the other attached to the headrest of the rear seat. Place it as close to the door as possible to take up as little space as possible. We recommend that you secure the frame with a seat belt, so that it does not move undesiredly during a more sporty driving of the car.
The floats will be mounted in the H support, on a trunk support purchased for the car (we recommend a Thule support consisting of 2 transverse bars). Stages: – open the flaps and the clamping flaps on the H support – the transverse bar in front of the purchased trunk support is tightly mounted, and the rear bar is mounted loosely – fix the floats on the car with the short side (the back) towards the front of the car and insert the H support into the front bar – adjust the position of the rear bar in such a way that it also enters the H bracket, then pull the bar as far back as possible and fix it tightly – put the fixing flaps of the H support in place and mount the butterfly nuts in the bolts, loosely, in such a way that the floats can be adjusted in relation to the middle of the car – the butterfly nuts are tightened all the way after the floats have been centered on the car
