Assembly stages
Assembly stages:
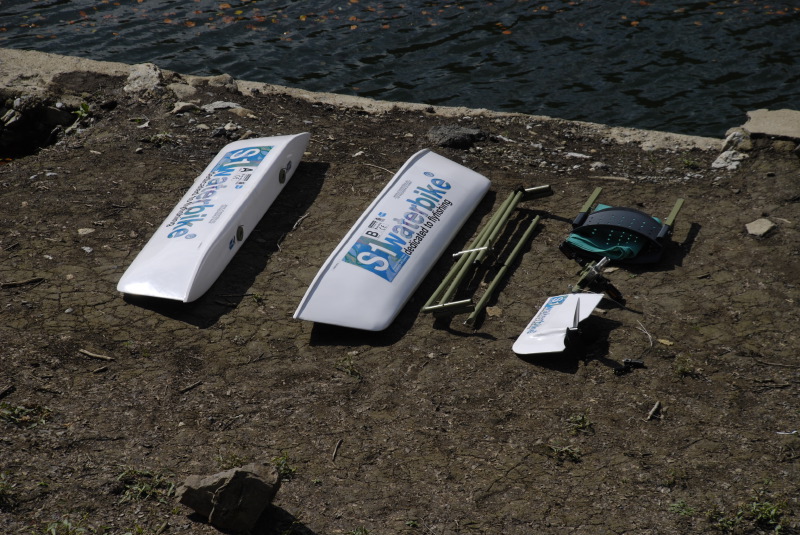
Remove the floats from the car carrying rack, take all the water bike components out of the car and to the shore.
Step One
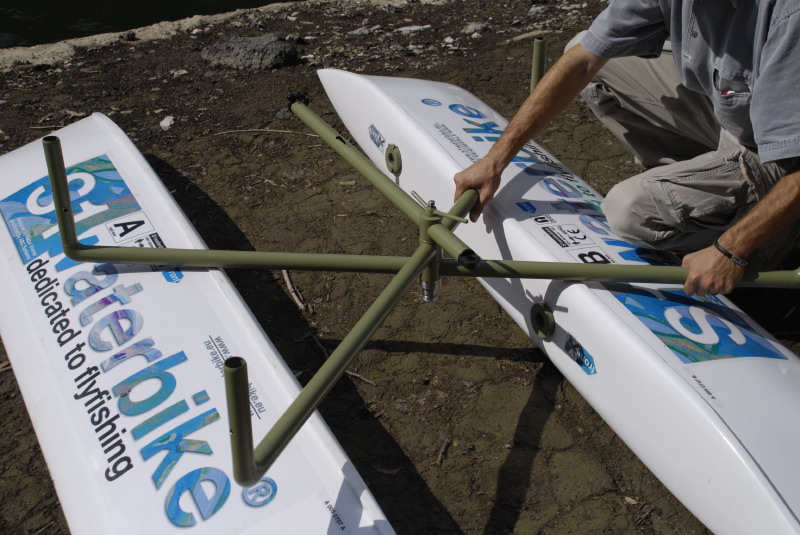
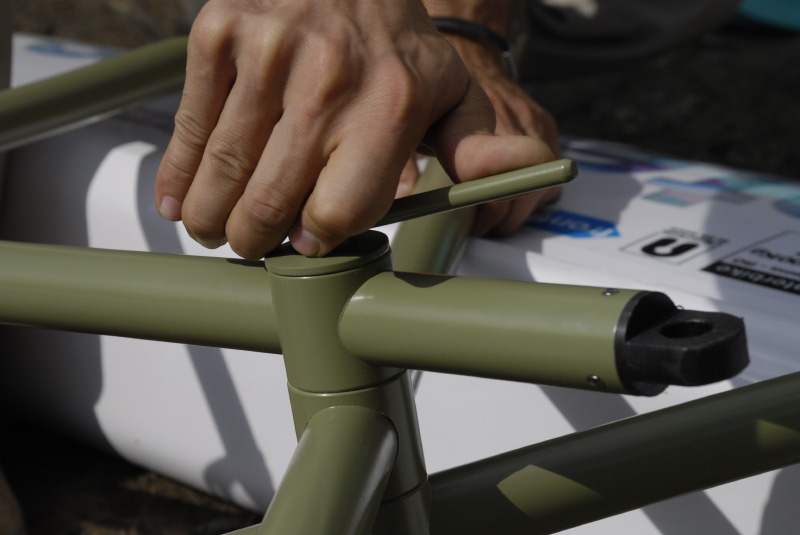
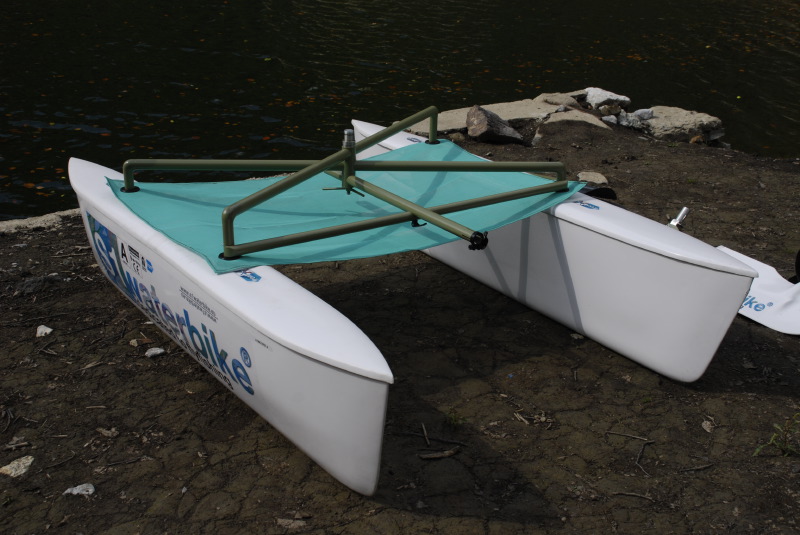
1) Unfold the body structure and fix the pedal support pipe in the middle.
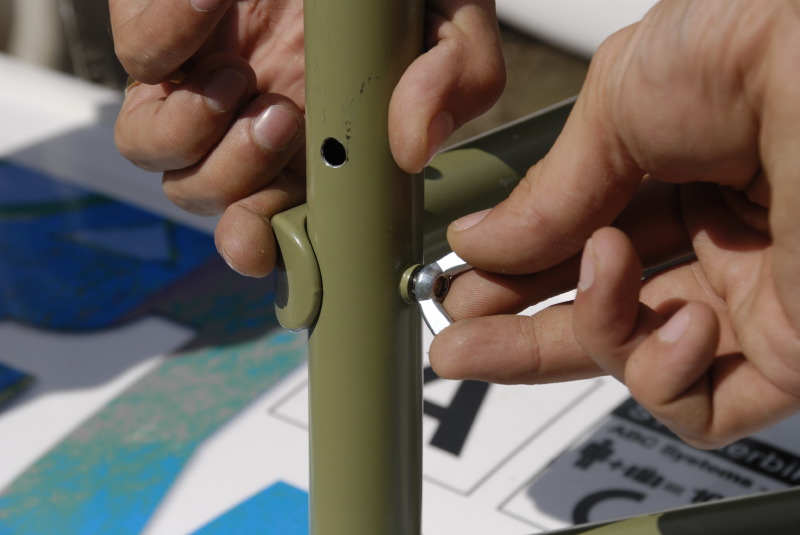
2) Fix the leg support rod in the holes on the front legs of the structure.
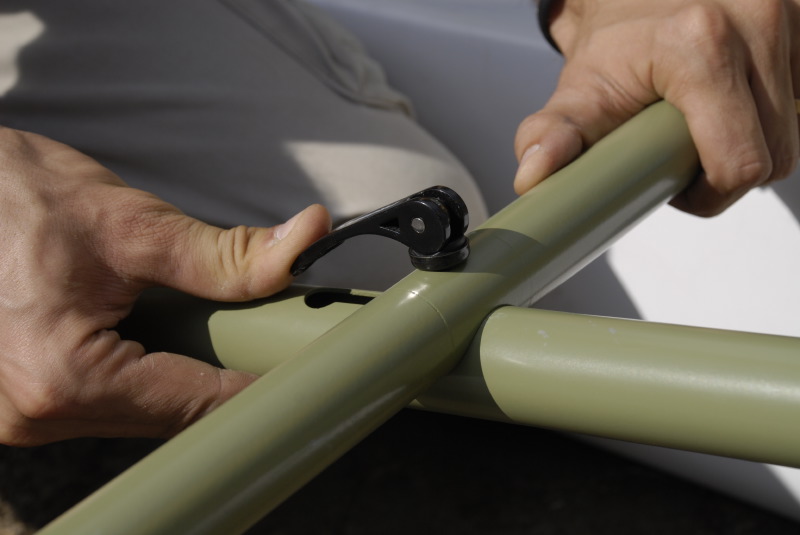
3) Fix the leg support rod and the pedal support rod with the fixing nut.
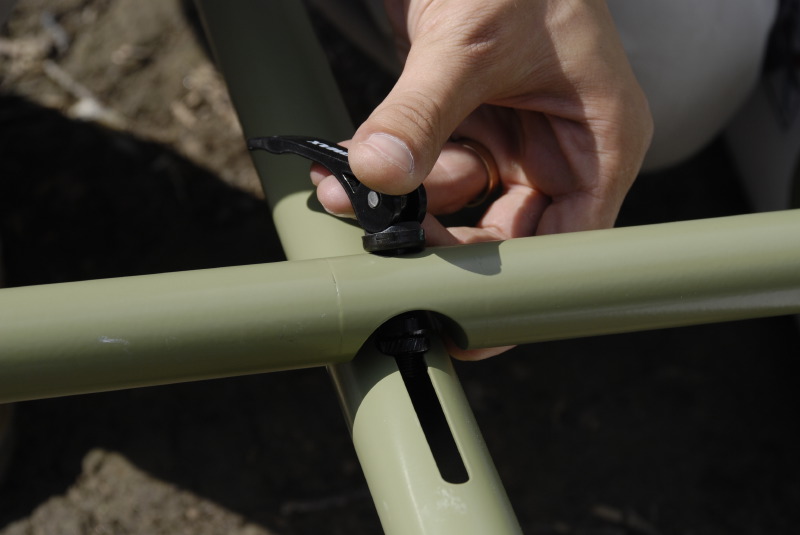
4) Screw firmly the nut placed under the middle joint of the structure.
Step Two
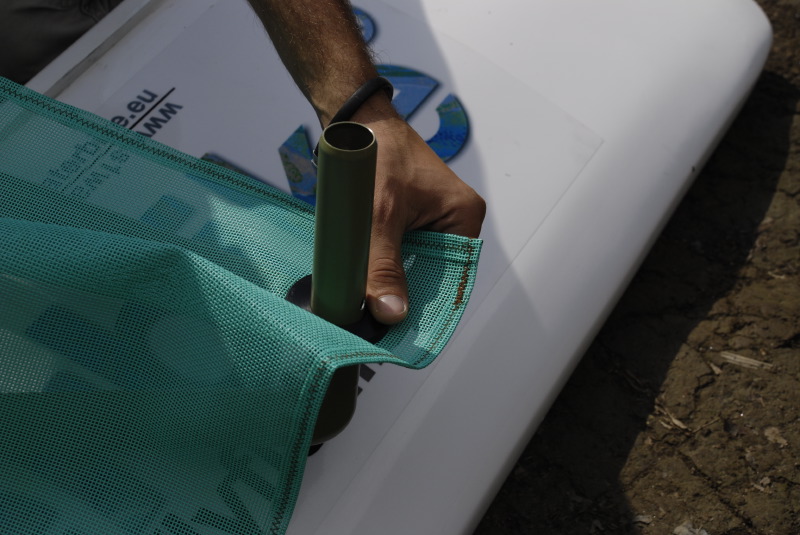
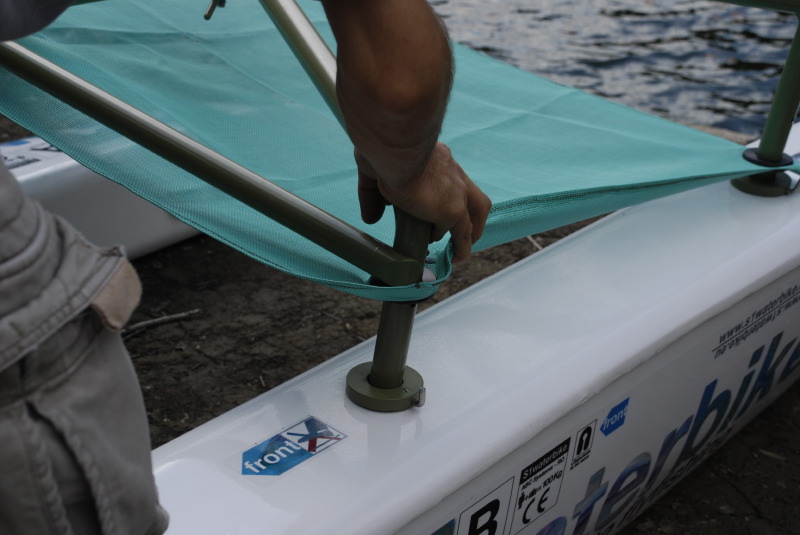
Unfold the protective net and fix the grommits on the body structure legs, the net must be between body structure and the floats.
Step Three
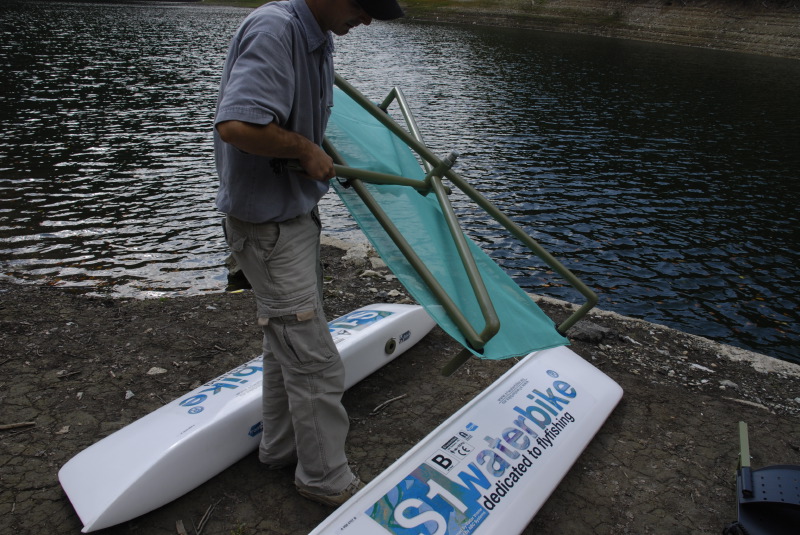
Fix the floats, net and body structure together by pushing the legs into the floats support.
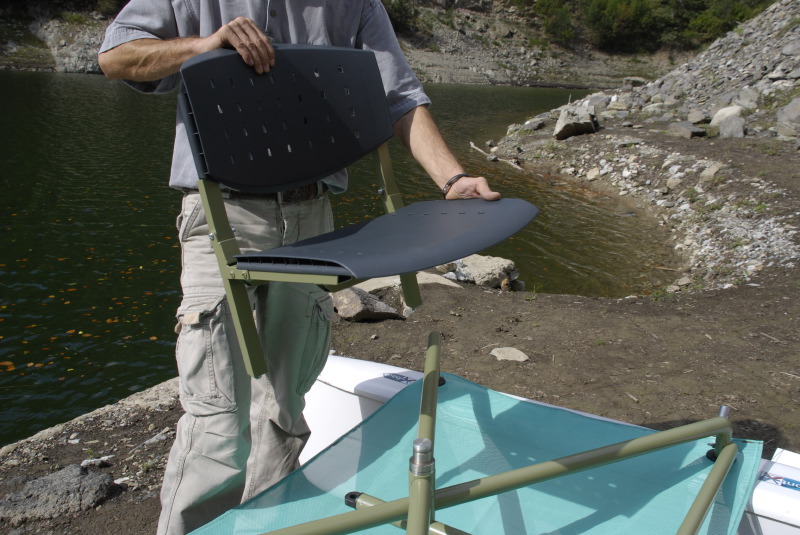
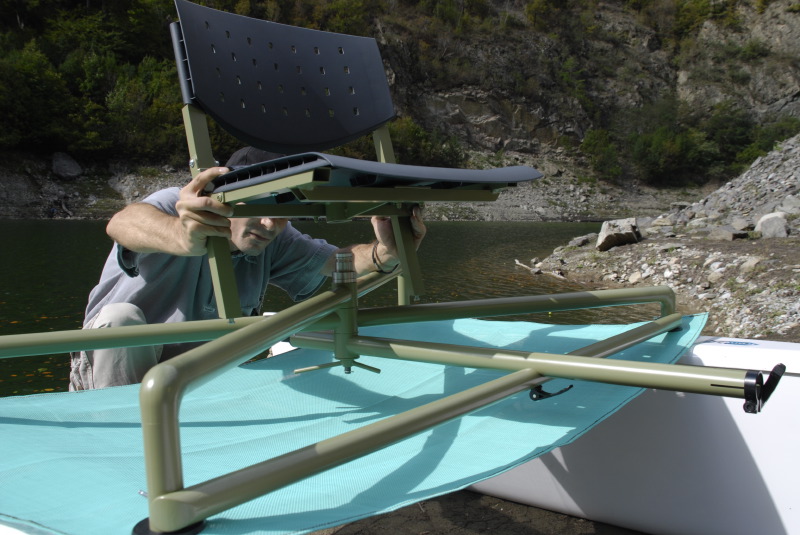
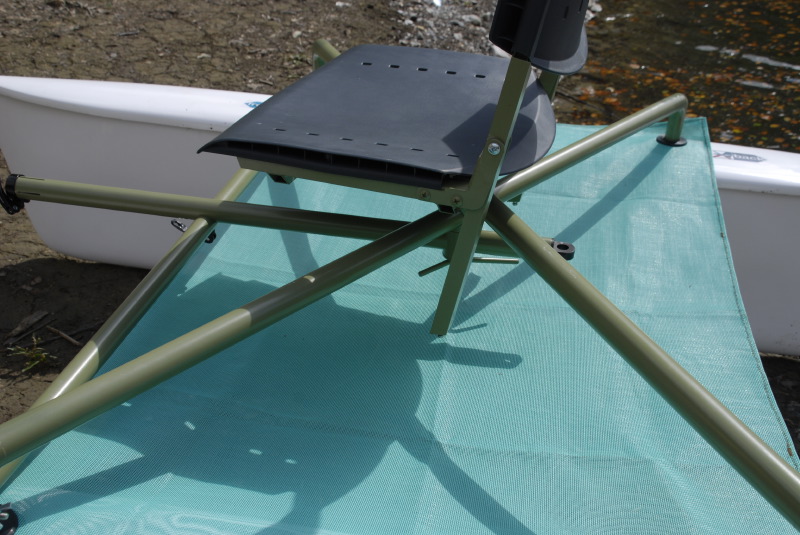
Step Four
Unfold the chair and fix it in the rotating support located in the upper part of the middle joint of the body structure. The chair should face the pedal support rod with its arms placed in spaces on the left and right of the body structure.
This completes the first stage of assembly. The water bike is now ready for carrying and can be launched in shallow water.
We advise finishing assembly on the shore, although this may also be done in the water.
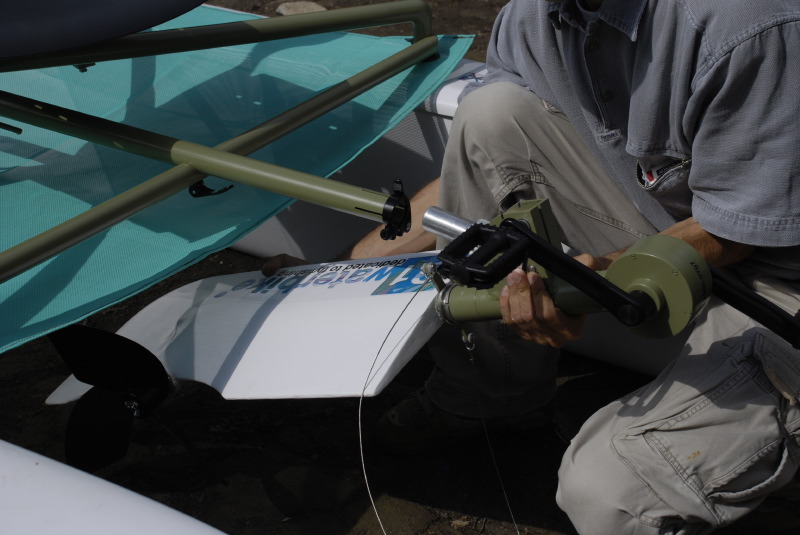
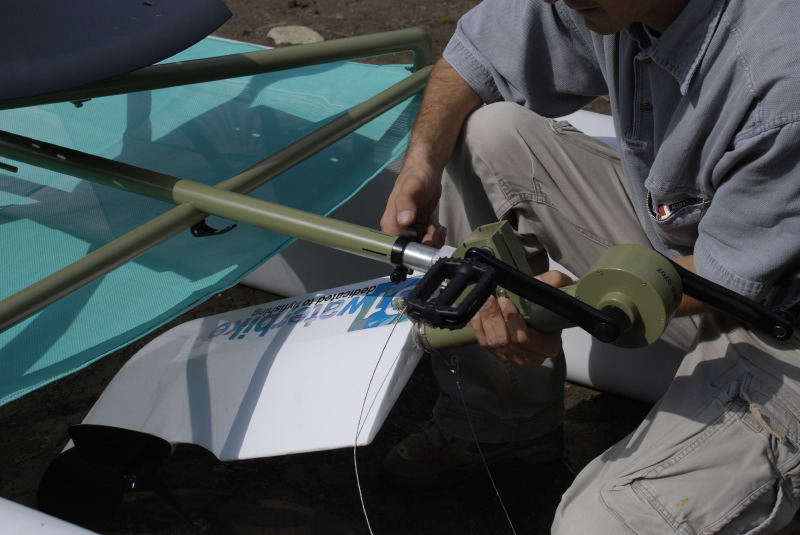
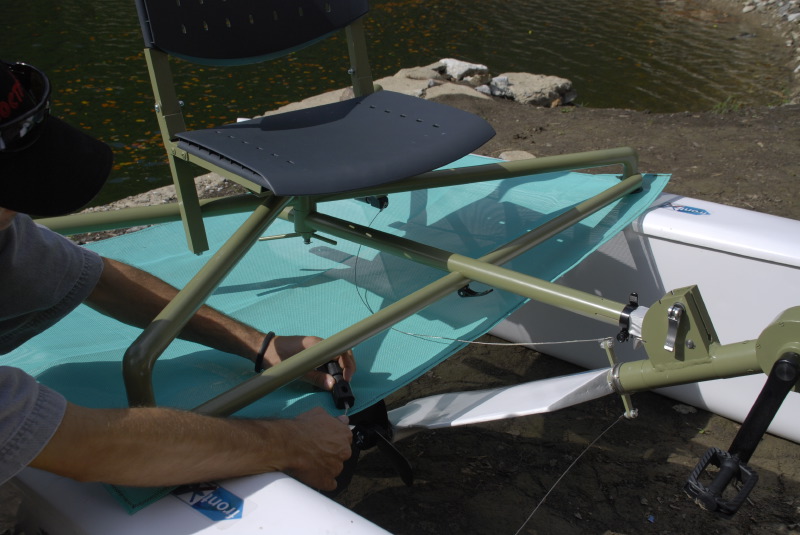
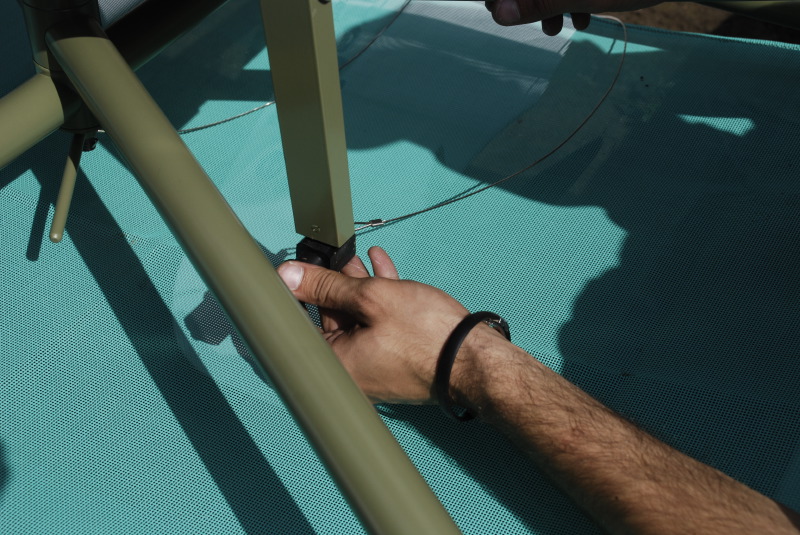
Step Five
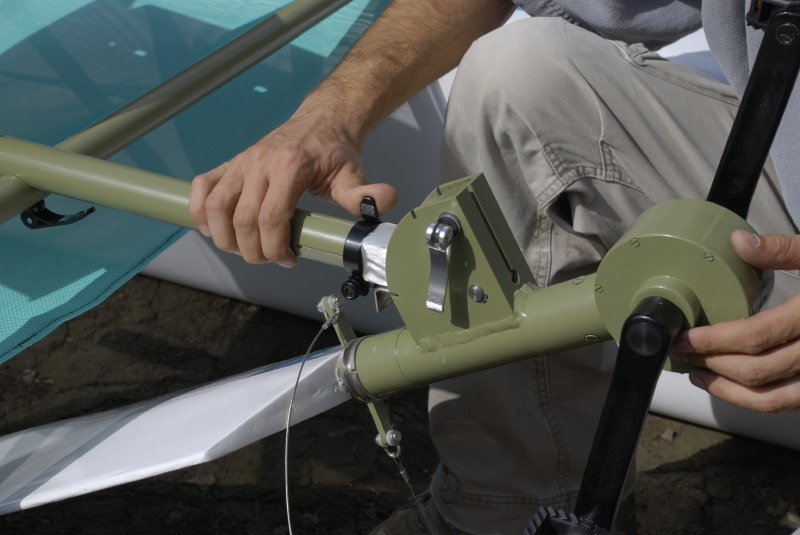
Assemble the pedal drive system in the pedal support rod. Fix the two steel cables’ flexible adjustments parts in special joints in the lower chair arms.
The water bike is now ready for use.
The pedal drive system is fixed to the body structure with a joint with two positions, designed to be useful for pulling the bike with a motor boat or for launching in shallow water, and to protect the rudder and propeller unit from rocks. The pedal power system should be moved into the vertical position for cycling once the bike reaches 70 cm deep water.